Folded Paper Lantern
90 minEasyNo heat
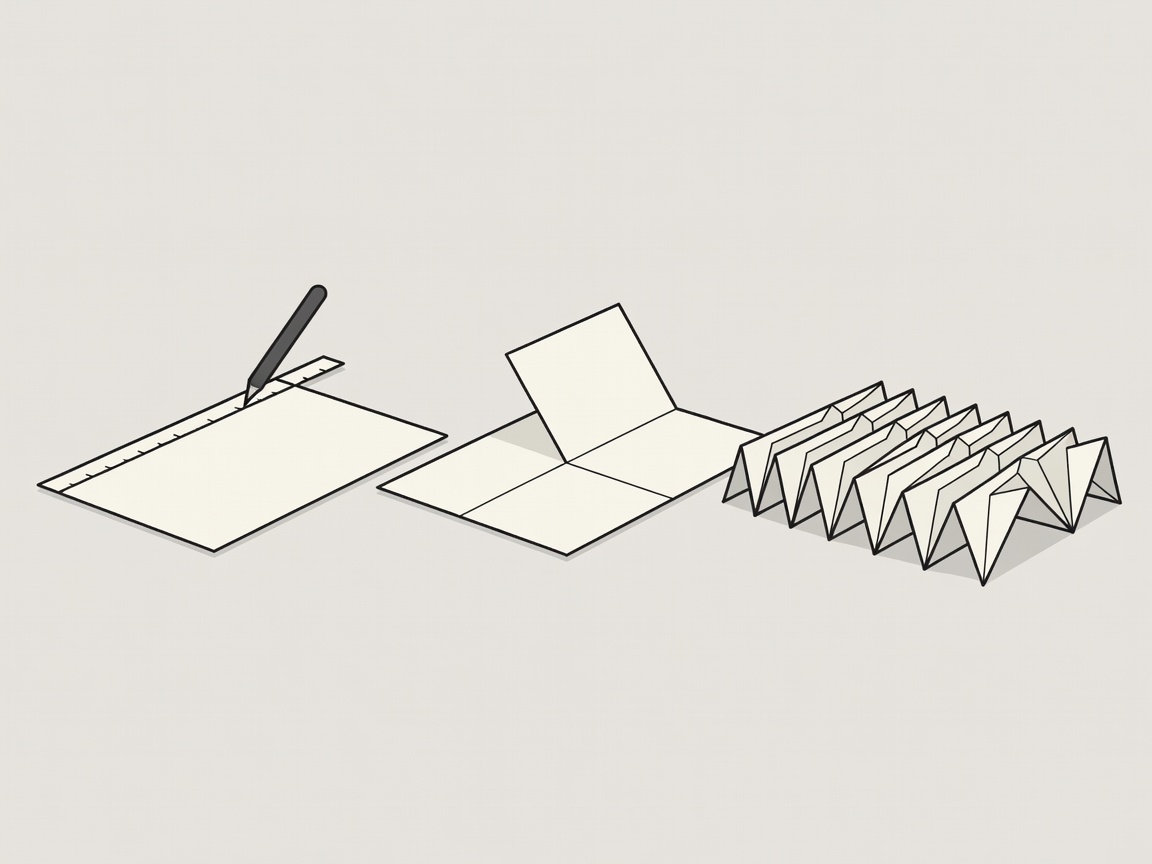
On the table: four sheets of A4 card stock, metal ruler, bone folder or blunt butter knife, PVA glue, LED tea light, string.
Watch out: uneven score lines make the lantern twist. Measure twice.
Four projects, one table, no special studio. Each starts with the honest finish time, including drying, and the list of what you need within arm's reach.
Pick a Weekend Build
Craft projects fail for boring reasons far more often than for difficult ones. The paper was the wrong weight, the glue was too wet, the table was too crowded, or there simply was not enough time left when the fiddly step arrived. So we plan backwards. Look at the finish time, add fifteen minutes for setup and tidying, and only start if that window really exists today.
Clear the table completely, then lay out materials left to right in the order you will use them. It sounds fussy, but it stops the classic moment of hunting for scissors with a hot glue gun dripping in your other hand. Put a silicone mat or an old baking sheet under anything involving hot glue; the strings peel straight off.
A quick word on paper weight. Ordinary printer paper is about 80 gsm and is great for practice folds. For lanterns and boxes, move up to 160–220 gsm card stock so the shape holds. Japanese washi is lovely for light-diffusing panels but tears if you crease it repeatedly, so fold it once and commit. The origami master Akira Yoshizawa championed wet-folding thicker paper for curved shapes, and a lightly damp sponge is a trick worth borrowing for softer curves.
On the table: four sheets of A4 card stock, metal ruler, bone folder or blunt butter knife, PVA glue, LED tea light, string.
Watch out: uneven score lines make the lantern twist. Measure twice.
On the table: two felt squares, embroidery thread, a blunt tapestry needle, a handful of stuffing, buttons for eyes.
Watch out: stuff it before closing the last 3 cm, not after.
On the table: low-temp glue gun, clear sticks, baking paper, permanent markers, a paper template.
Watch out: colouring too early smears. Let lines cool first.
On the table: ten sheets folded into signatures, card cover, waxed linen thread, awl, binder clips.
Watch out: pulling the thread too tight tears the fold. Snug, not strangled.
“If the glue is still shiny, the join is still deciding. Give it time.”
PVA glues such as Elmer's or a school white glue need around 20 minutes to grab and a few hours to cure fully. Mod Podge acts as glue and sealer in one but stays slightly tacky in humid rooms. Plan your drying gaps as tea breaks, not as wasted time.
Compare glues and toolsFelt is the friendliest fabric for beginners because it doesn't fray, so you can cut any shape and stitch it straight away. A simple running stitch holds well for toys, while a blanket stitch around the edge looks neat and stops stuffing from poking out. Keep stitches about 3–4 mm apart; longer stitches snag on pockets and little fingers.
For the notebook, the Coptic stitch is gorgeous but slower. Start with a single-signature pamphlet stitch: three holes, one length of thread, finished in under fifteen minutes. Once that feels easy, add more signatures. Waxed linen thread grips itself and is far more forgiving than cotton.
Hot glue burns are the most common workshop injury we hear about. Use a low-temperature gun with younger makers, keep a bowl of cool water nearby, and never touch a fresh bead to test it. Paper projects mostly suffer from humidity: if your card feels soft, flatten it under a stack of books overnight before you begin. And if a project goes wonky, finish it anyway. A lopsided lantern still glows, and the second one will be straighter.
Stuck on a step? Our help page collects the fixes we reach for most often.
Your privacy choices We use necessary cookies to run the site and, with your consent, optional ones to measure visits. You can change this at any time.