The Kit Worth Buying First
Ten things cover almost every project on this site. Buy them once, store them on a pegboard, and spend your afternoons building instead of shopping.
See the starter table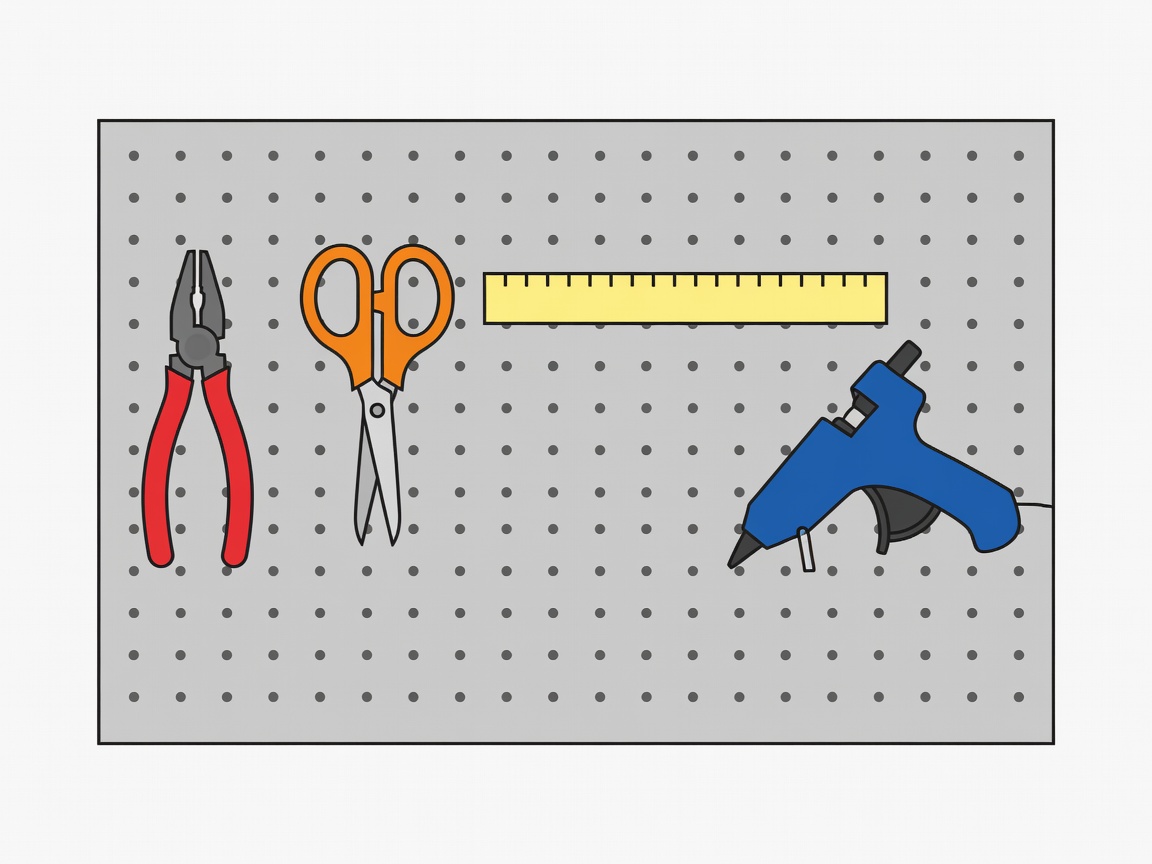
Buy slowly, use often
The temptation with a new hobby is to buy the giant all-in-one kit. Resist it. Those boxes are full of tools you will never touch and missing the two you actually need. Instead, start with the list below, do three projects, and only then add whatever you found yourself wishing for. A tool earns its place on the bench by being used, not by looking clever.
Quality matters most for anything that cuts or heats. A cheap craft knife with a wobbly blade slips; a well-made one such as an X-Acto No. 1 or an Olfa snap-off knife stays where you put it. A glue gun with a stable stand and a switch saves your fingers and your table. For everything else, the supermarket version is fine.
The starter table
| Item | What it does | First project | Watch out for |
|---|---|---|---|
| Low-temp glue gun | Instant bonds for card, felt, wood scraps | Suncatcher | Strings and burns; keep a silicone mat under it |
| Self-healing cutting mat (A3) | Protects the table, grid helps measure | Paper lantern | Warps near heat; store flat |
| Metal ruler with cork back | Straight cuts and scores | Paper lantern | Plastic rulers get nicked by blades |
| Craft knife + spare blades | Precise cuts in card and foam | Robot arm | Dull blades slip; change often, cut away from you |
| PVA glue | Strong, slow, wipes clean | Notebook cover | Too much makes paper ripple |
| Masking tape | Temporary holds, labels, circuit fixes | Bristlebot | Loses grip on dusty surfaces |
| Needle-nose pliers | Bending wire, gripping tiny parts | Morse key | Squeezing too hard snaps LED legs |
| Safety glasses (ANSI Z87.1 / EN 166) | Eye protection for snipping and fizzing | Volcano | Scratched lenses; replace them |
| Small electronics pack | LEDs, coin cells, hobby motors, wires | Wind turbine | Coin cells near children; store sealed |
| Digital multimeter | Checks batteries and broken circuits | Pico night-light | Start on the highest range, then step down |
Set up a pegboard in an hour
- Pick a wall (10 min). Choose a spot above the table at elbow-to-eye height.
- Fix spacers (20 min). Screw the board onto wooden battens so hooks have room behind.
- Trace outlines (15 min). Hang each tool and draw around it with a marker. You'll spot missing tools at a glance.
- Add a scrap bin (15 min). A hanging basket for card offcuts keeps future projects free.

“The best tool is the one you can find in under ten seconds.”
A tidy bench is not about looking neat. It is about getting back into a project quickly after the glue dries. Drawer dividers, labelled jam jars and a pegboard all do the same job.
Put the kit to workMaterials you already own
Before buying anything else, raid the recycling. Cereal boxes are perfect 300 gsm card for templates. Corrugated delivery boxes become robot chassis. Bottle caps are wheels and turbine hubs. Old toothbrushes, wine corks, lolly sticks and jam jar lids all appear in our builds again and again.
When you do upgrade, the next three tools we suggest are a small temperature-controlled soldering iron with a stand, a rotary cutter for fabric, and a bone folder for crisp paper creases. Soldering is a skill worth learning slowly: work in a ventilated room, use lead-free solder, and keep the iron in its stand every time it leaves your hand.
Unsure what to start with? Head to Help, or tell us what is on your table via say hello and we'll suggest a first build.